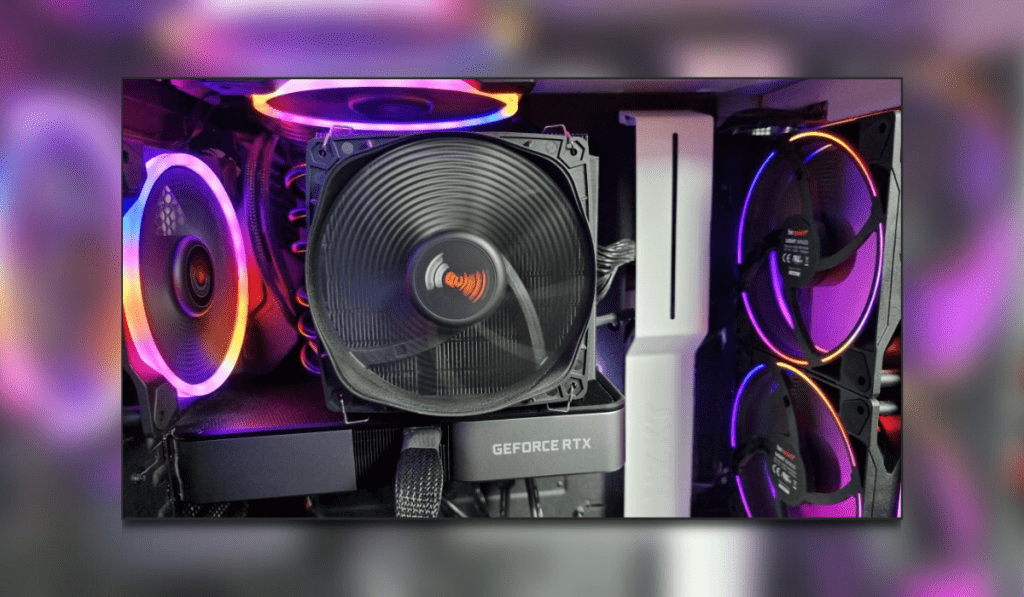
Recently I discovered an issue that I was a little naive about after having some new peripherals with ARGB lighting to try out. My motherboard, an ASUS TUF B450m, only had an RGB header. Naturally, my heart sunk. How could I get around this? After all, blasting 12v into 5v LED’s is a big no-no.
The internet was very vague when it came to resolving the issue and there were not many articles about it. After speaking to the hive mind that is found within the Thumb Culture Discord channel, Welsh Stu came up with a potential idea…
ARGB Lighting in an RGB World!
The solution is actually not that difficult and relies on two components.
What Do You Need?
Firstly you need to purchase the Corsair iCUE Lighting Node Pro Lighting Controller. This tiny matchbox device is the portal to powering up and controlling your ARGB devices. Available for around £45 from many outlets such as Amazon and Curry’s you should find a nice bundled deal that also includes 4 410mm ARGB LED light strips.
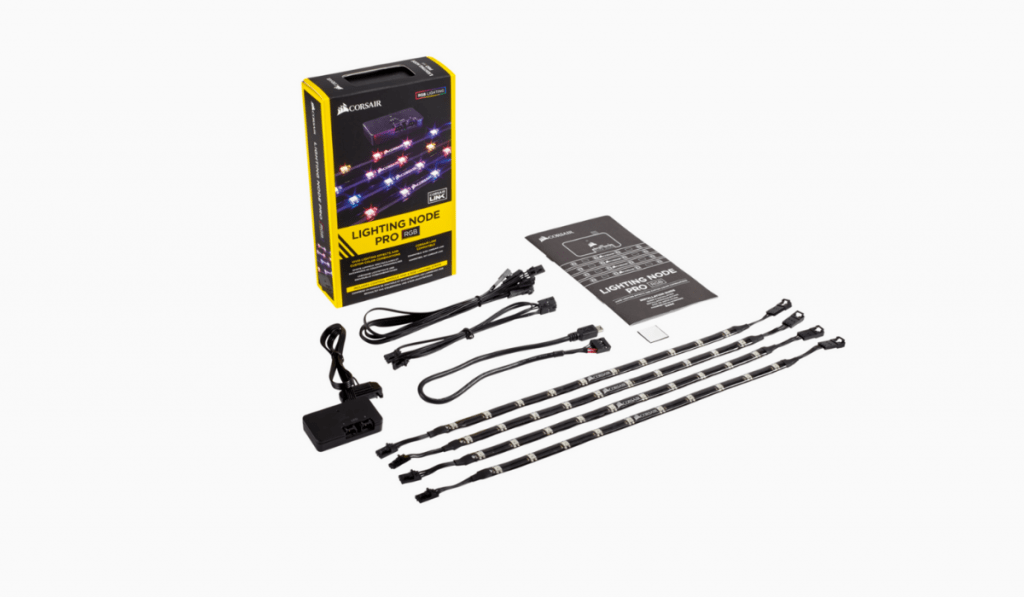
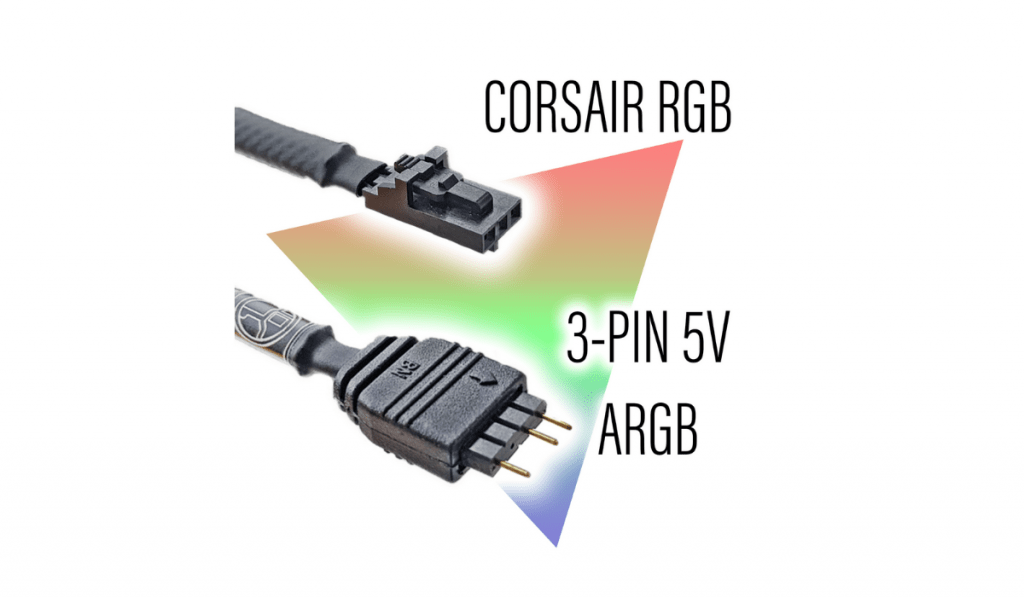
The other component that you shall also require is a converter cable should your ARGB device not be from Corsair. I spent a bit of time researching various cables and found that the G Major Tech ones found on eBay were of very good quality. A Corsair RGB to standard ARGB 3 pin 5v adapter will cost £7.99.
Installation Time!
Connect the Corsair Lighting Node Pro to a spare USB 2.0 header port on your motherboard. The lighting will need some power therefore you also need to hook up to a SATA power socket as well.
There are 2 channels on the lighting controller, each can run either 6 ARGB strips or 6 ARGB fans. That is a lot of lights!
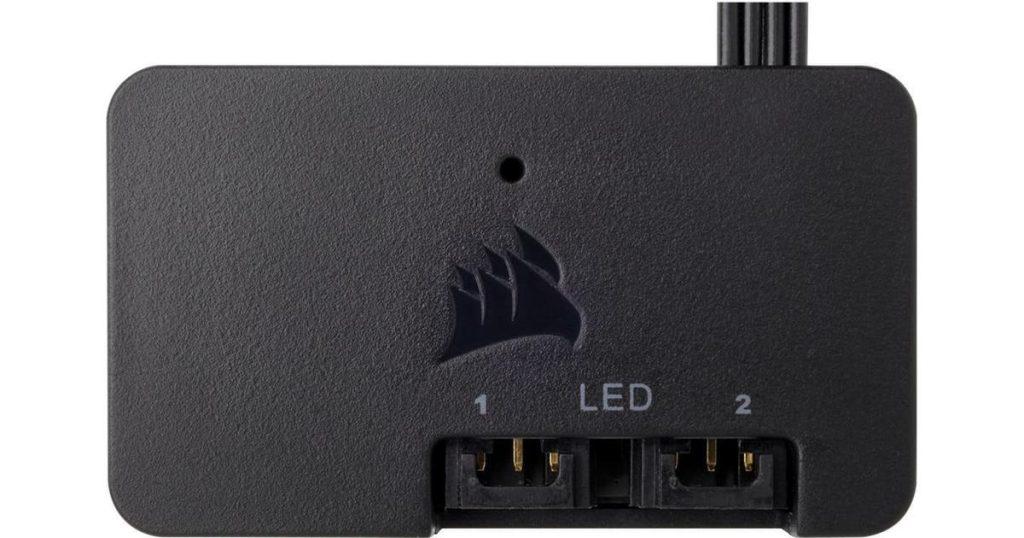
If you have bought the Corsair lighting bundle then you simply plug into one of the channels using the included ARGB 3 pin cable and daisy chain your ARGB strips together. My PC tower sits below my metal framed desk and I managed to attach the 4 LED strips along the frame at the back. The LED strips can be both held in place via the integrated magnets or by using sticky pads.
For non-Corsair ARGB lights you use the converter cable as mentioned previously from G Major Tech and this then allows you to plug into either an ARGB hub or daisy chain your fans like I did.
With that all installed, it is certainly a lot cheaper than changing your motherboard!
Lighting It Up!
The next part is to install Corsair’s iCUE software and follow the guide to tell the software what you have on each channel. While the Corsair products are very self-explanatory, the non-Corsair devices are not that tricky to set up. The converter cable from G Major Tech does come with a very easy-to-understand guide however here are the basics.
All you have to do is tell iCUE which channel you are plugged in to, the number of devices, and also select a Corsair peripheral that has equal to or more LED lights than what you are trying to use.
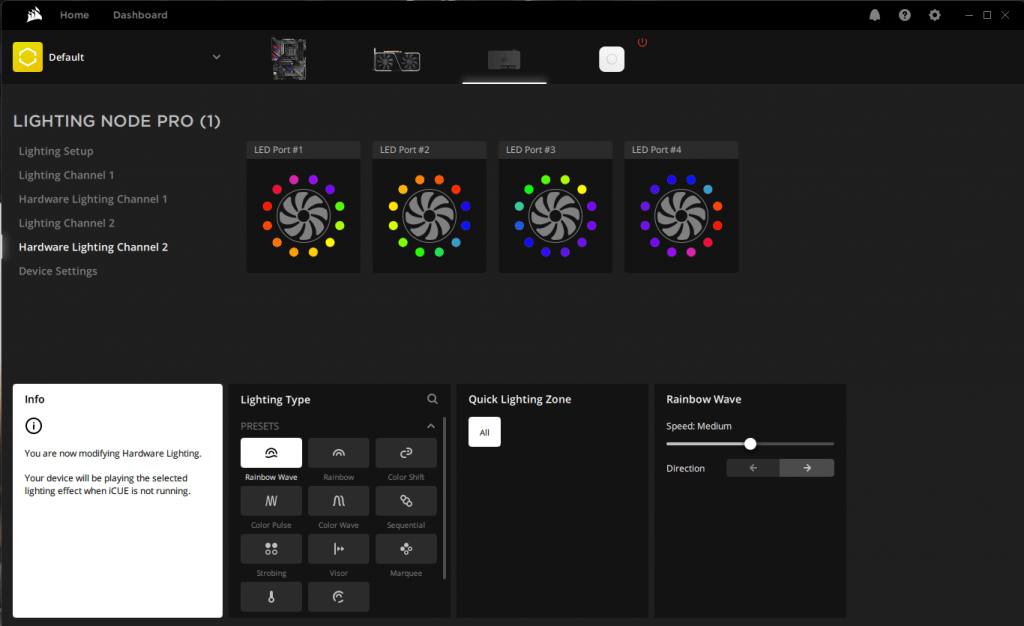
Once you have completed these steps you now have ARGB lighting that is fully controlled using the iCUE software!
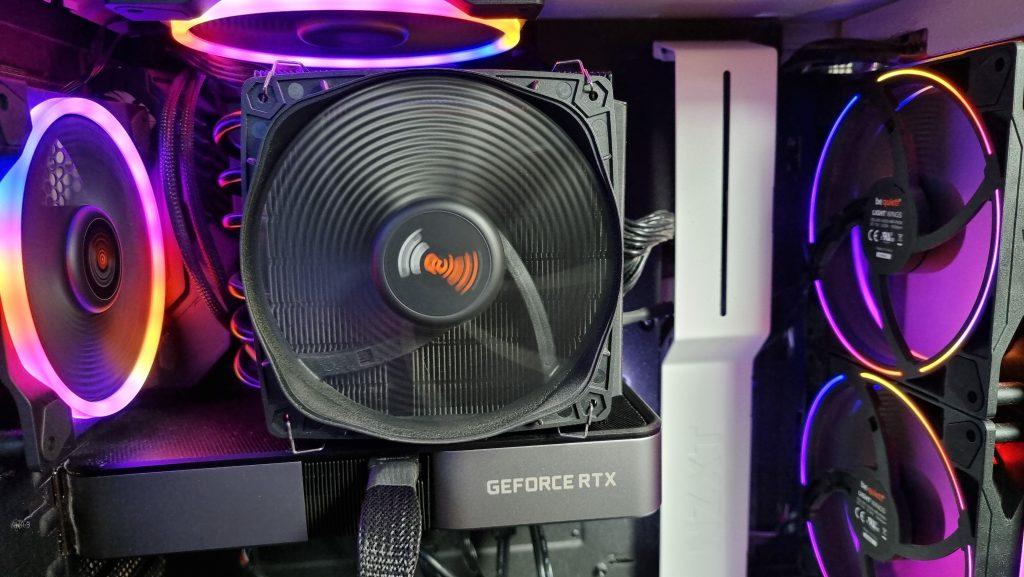
I hope that this has helped shed some ARGB light onto the world as it was something that wasn’t that obvious to be achieved when I was in my moment of need! A massive thanks to Welsh Stu for his idea and I hope you all have fun lighting up your rigs and gaming dens! We would love to see some pictures of your setups so feel free to post them in our Discord channel or tag us on social media!

YouTube | Facebook | Twitter | Instagram | Discord | Podcast
